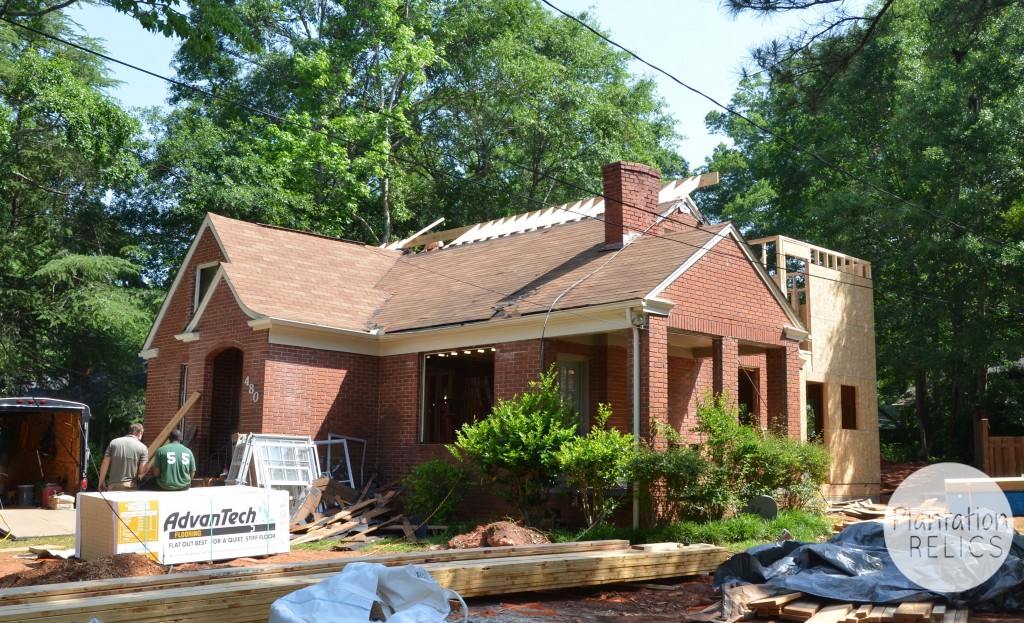
It’s time to get Flip House #2 closed up and in order to do that, we have to put a roof on it. In my last post, the addition in the back of Flip House #2 went up and now we have to tie the addition to the existing house. I was fascinated by this process of making all of this work. I really wanted to make sure the front of the house stayed as close to the same as possible. In order to not change the front aesthetic, we decided to do a low slope roof over the addition. Some may not like the look of a flat roof but in order to keep the little cottage look, that’s what we needed to do. We didn’t want to gable the roof the other direction because the house would look completely different from the front if we did that. Once we are finished, it will all look great! So what did we do and how did we make it work? 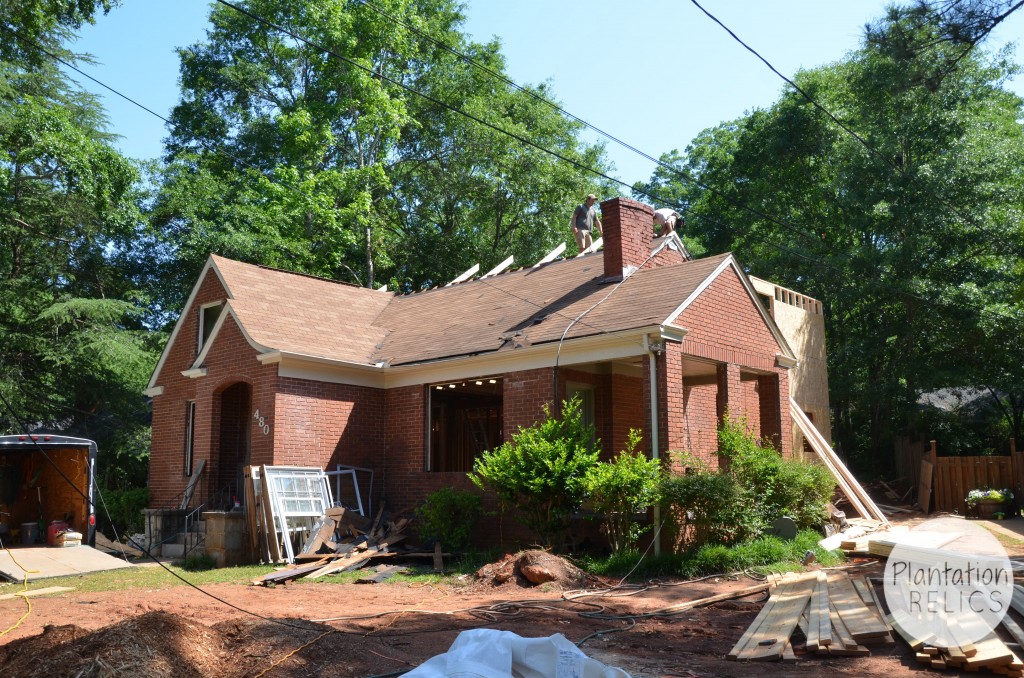
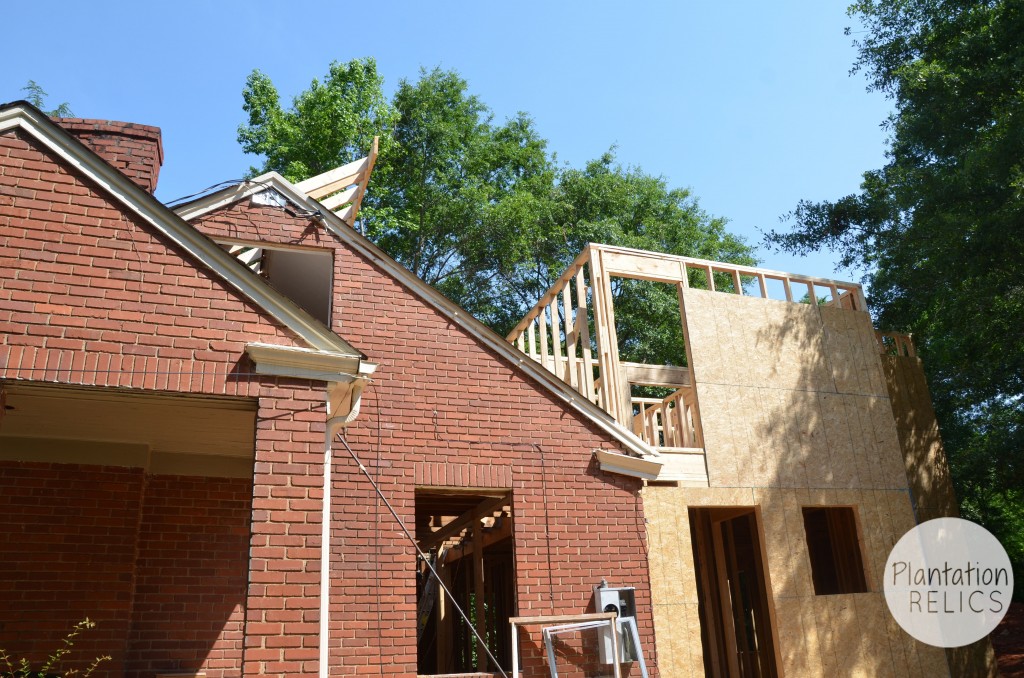
As you can see in the above picture, we extended the ridge of the roof about 4 feet so we could get enough pitch over the addition roof. This just makes the roof taller so it doesn’t change the house too much from the front. 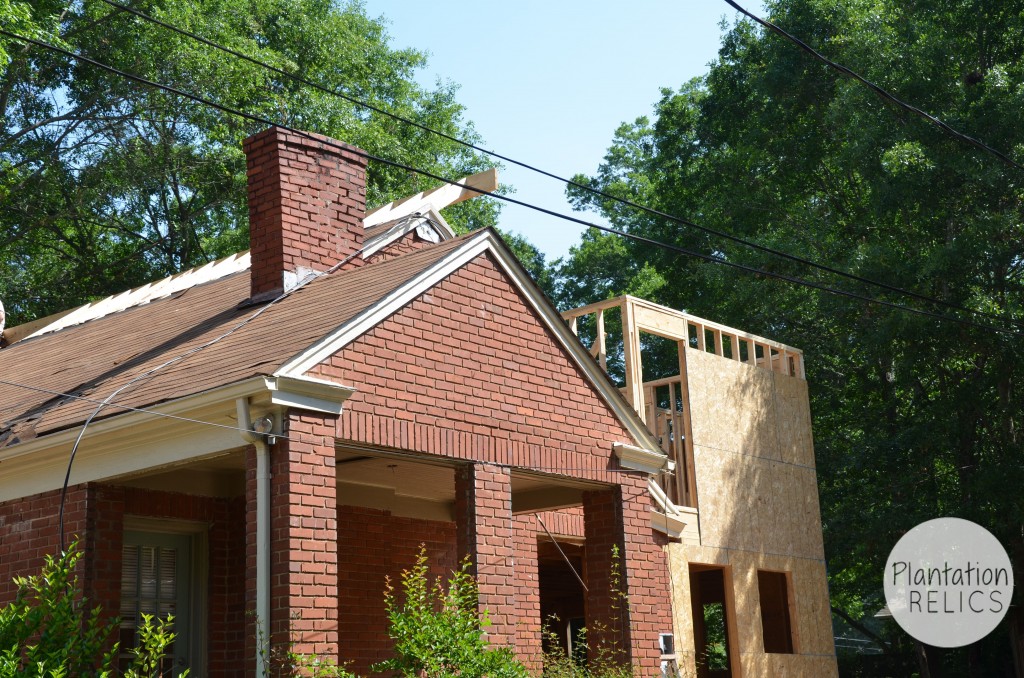 Here’s another picture of the extension.
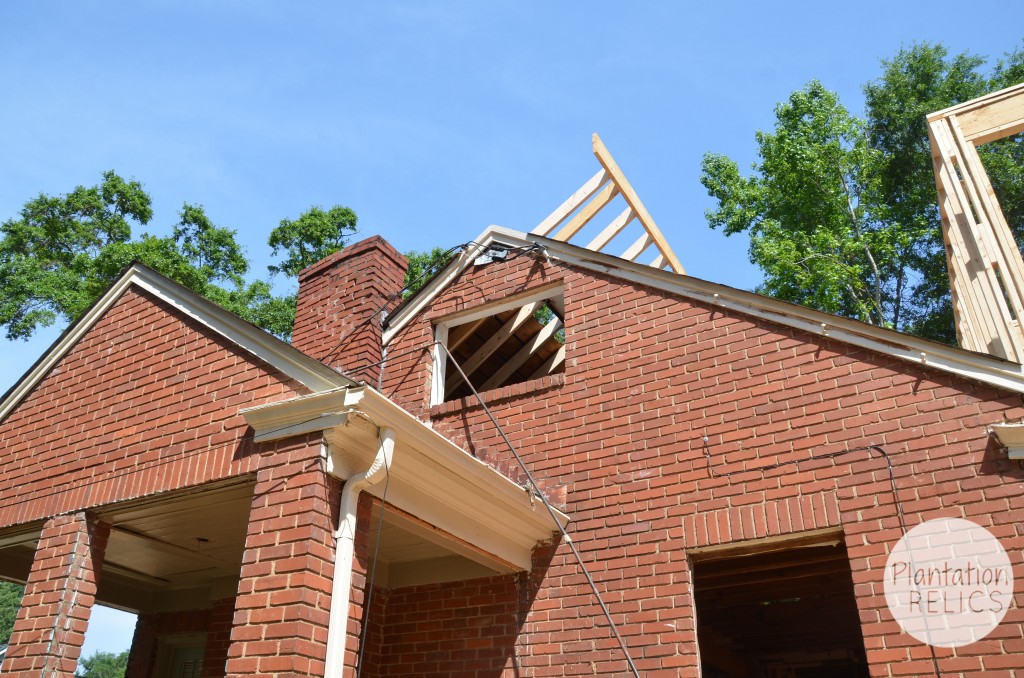 This is where the new ridge will extend out and pitch back to the addition roof.
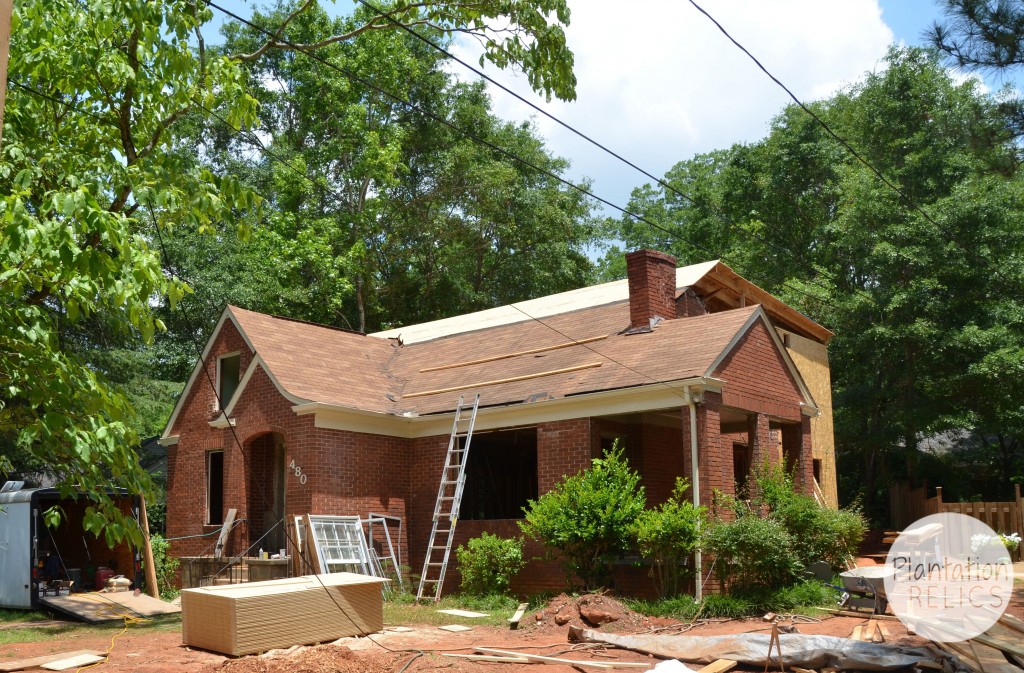
The new extension and the roof over the addition now have plywood and are ready for the permanent roof.
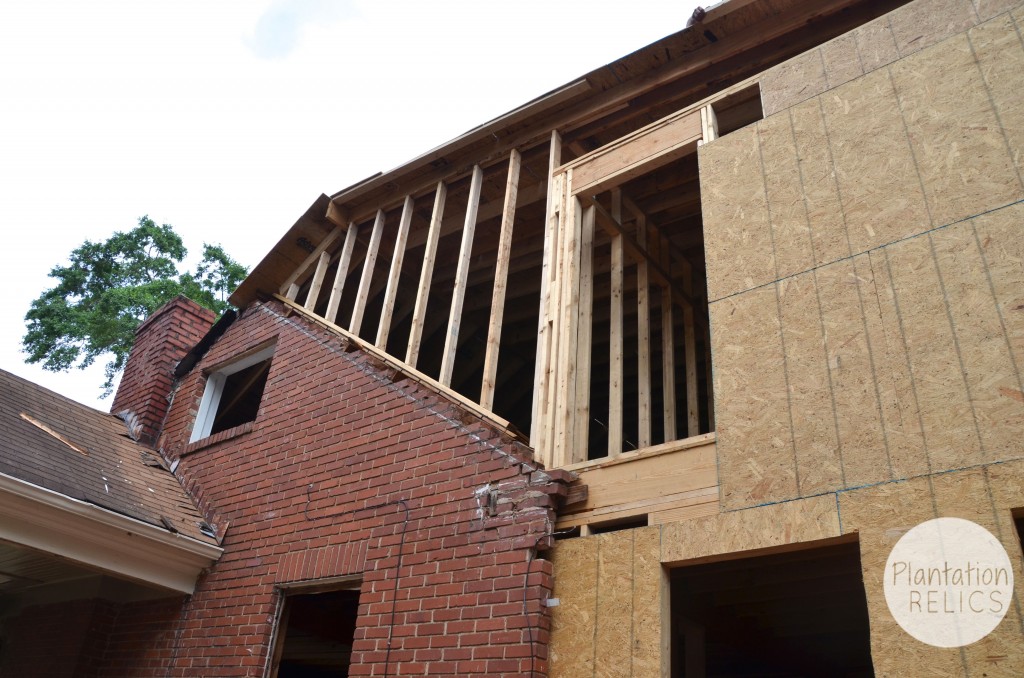
All of the supports are up and are ready for the brick.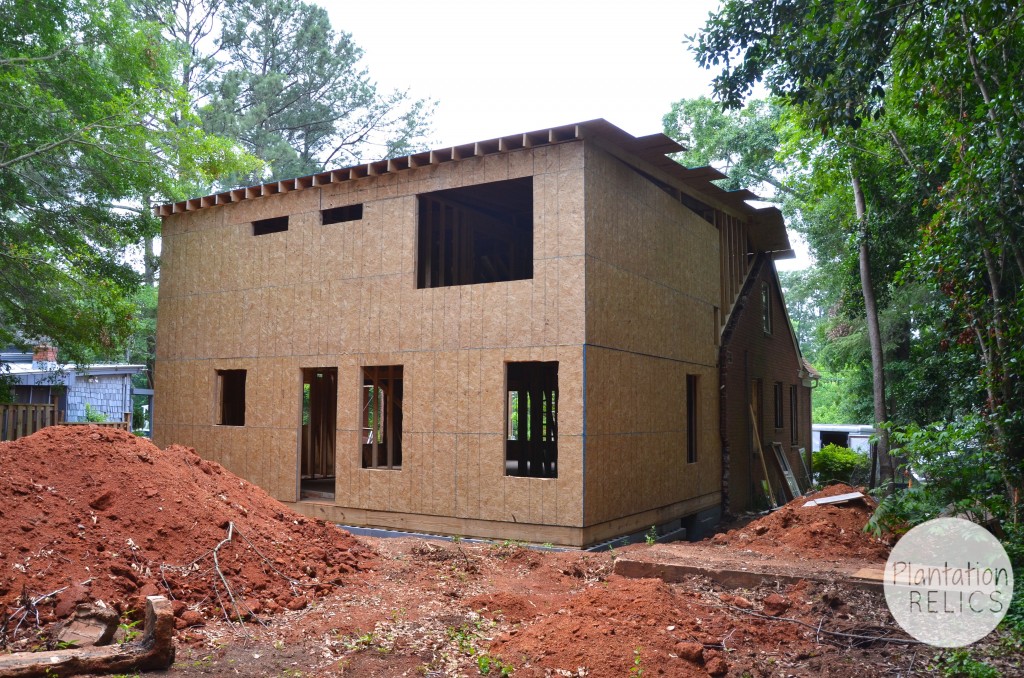
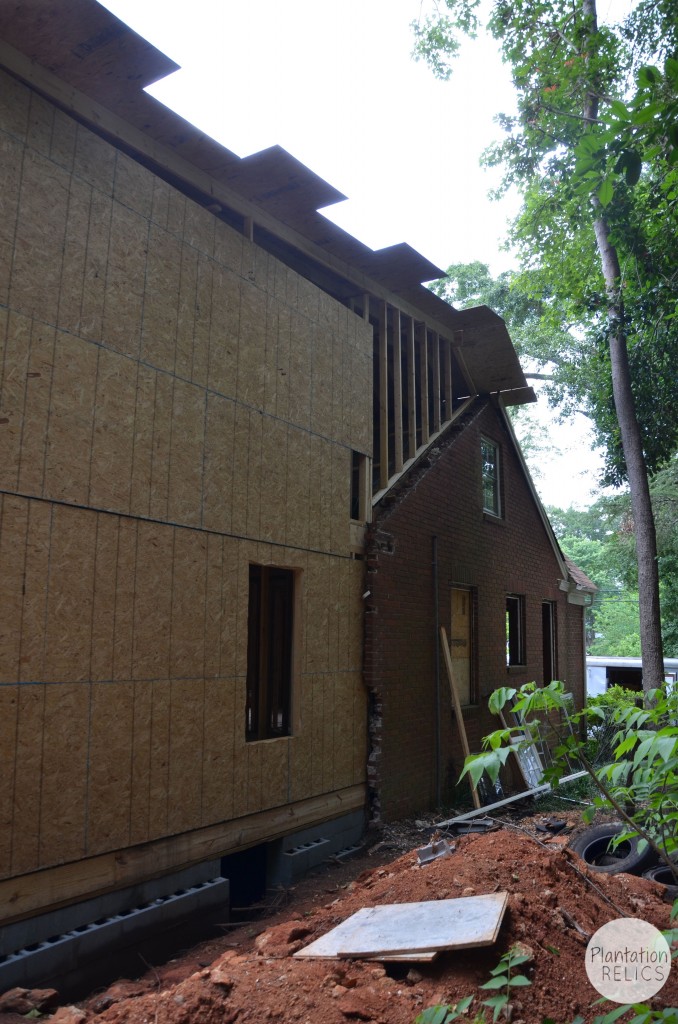 It looks really funny right now but I promise it will all work together well.
Next up windows! Stay tuned for more details on Flip House 2!
